[GUIDE] Growing Bottle Gourd Seeds Indoors and Outdoors
Preparing The Seeds
- Use a pair of nail clippers to clip off the pointed end of the bottle gourd seed, without damaging the soft seed inside. You may also use sandpaper to loosen the coat of the seed.
- After nicking them, place the seeds in a bowl filled with water at temperature of 70 to 75 degree Fahrenheit.
- Keep them in this water for 24 – 48 hours only. If the seeds stay there for too long, instead of germinating they will rot.
- After the time has elapsed, decant the seeds out of the water and wipe them dry with a cotton cloth.
- Store the seeds in a dry location such as wrapping them in fig leaves. Bottle gourd seeds take approximately 7 – 12 days to germinate.
- Once germinated, the seeds are now ready to be sown in a garden bed outdoors or in pots indoors.
Soil Requirements
- The pH of the soil should be in between 5.5 to 6.8 which is more acidic than it is alkaline.
- For soil, you could go for 1 part garden soil, 1 part coco peat and 1 part of vermicompost or 2 parts of garden soil mixed with 1 part of organic manure. It depends on what you have available on you.
- Alternatively, you can use half-decayed leaf mold or coarse municipal compost.
- The optimal soil temperature for growth is 50 to 95 degrees Fahrenheit.
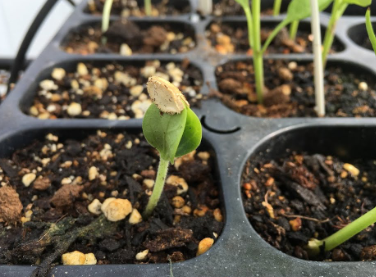
Growth timetable for bottle gourd (beginning – 2nd week)
| Stage | How long it take to get here |
| Sprouting stage | Germination will take 6-8 days and tiny sprouts can be seen then. |
| Cotyledons | False leaves emerge in the second week of germination. |
| Sprouting first leaves | After cotyledons, the first true leaves will emerge after the germination period. |
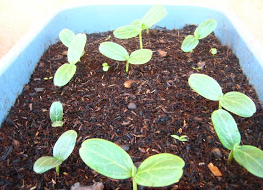
| Seedling stage | After the second week, the seed starts turning into a plant. |
| Thinning | Once the second week is over, keep each seedling in a pot. Cut off small, weak seedlings using scissors. |
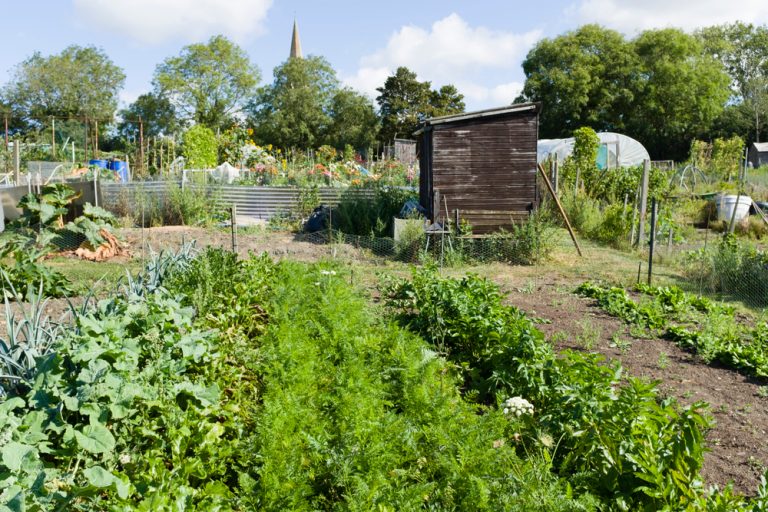
Sowing Outdoors
- Sow the seeds in a raised garden bed with complete exposure to the sun, sheltered from strong winds.
- The seeds should be placed at a spacing of 3 x 3 feet, with 2 seeds placed in each spot.
- Ideally you want one plant per square feet, once you get rid of the weaker seedlings or those which don’t end up growing properly.
- Use your fingers to place the seeds in the soil and gently push them inside. Follow this by completing covering the seeds with soil using your hands.
- Use a watering can to lightly water the seeds immediately after they have been planted in the ground.
Sowing Indoors
- If you don’t have enough space outdoors, you can grow bottle gourd seeds indoors as well.
- Take big circular containers such as pots (10 cm/ 4 inches) and sow two seeds. You can even use an airing cupboard, grow bag or a propagator.
- Make holes at the bottom of the pot to allow the plant to be able to breathe and excess water to drain away properly.
- Tap the seeds firmly into the soil and cover it up using your hands.
- Use a watering can to water the seeds immediately after the have been planted.
- Keep your pot / container in an area with maximum exposure to sunlight and little to no strong winds.
Using a propagator for your seeds
A propagator may be used to speed up the germination process for your bottle gourd seeds. It is like having your own plant incubator to grow seeds where you can control the temperature and air ventilation.
- Get a seed tray and cover it with compost.
- Use a piece of wood to level the surface by dragging away and pushing outside any excess soil left on top.
- Approximately 2 – 3 bottle gourd seeds are sown in the same pit at a depth of 2.5 cm to 3.0 cm. Keep this in mind as you sprinkle the seeds.
- Spread the seeds around in the soil sparingly. Most plants will die from being overcrowded than any other reason, before they even have the chance to grow properly. Keep this in mind as you place your seeds.
- Read the seed packet that outlines the exact depth at which seeds need to be sown and the distance they need to be from one another. This is important for regional varieties of bottle gourd.
- Use a sieve and add some more compost over the seeds so that they are the correct distance from the surface of the soil.
- Use a watering can to lightly shower the seeds with water immediately after they have been sown in the ground.
- Keep your propagator on a sunny window sill or on your balcony, anywhere it can get enough sun to grow into a healthy mature plant.
Growing without enough space
- If you don’t have enough space, you can grow bottle gourd in pots on your balcony.
- You may spread the vines on a trellis or a roof if you have access to one.
- If you are growing the plant on a terrace, you may spread the vines of the plant on the fencing so that it spreads along the outer wall of the terrace.
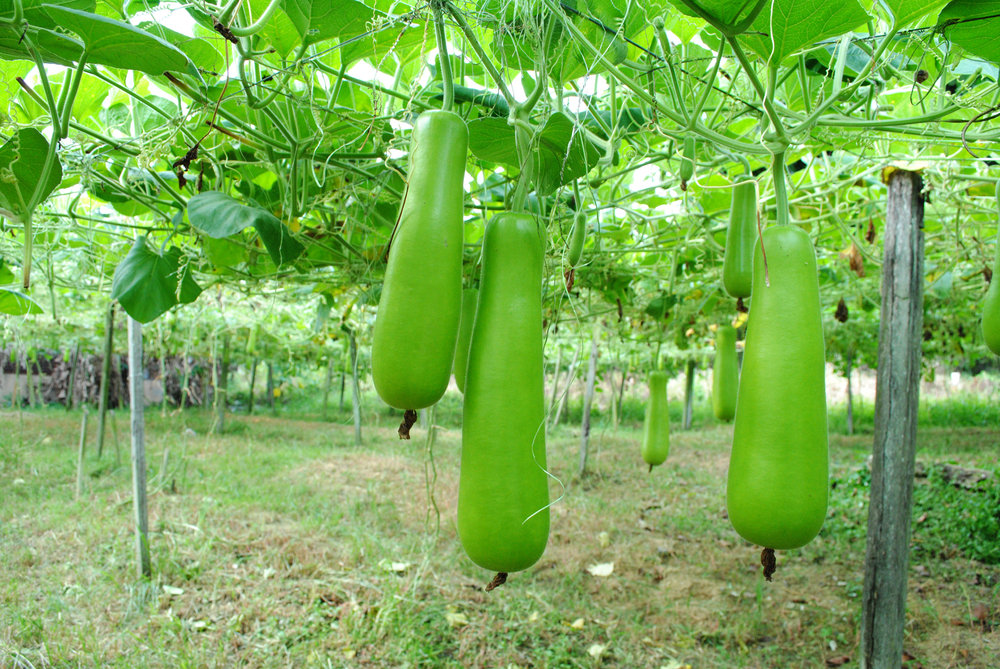
Using Trellis for Support
The bottle gourd plant is one that goes quickly and aggressively. You will need to use trellis to ensure that the vines are able to climb without their growth being inhibited. This is especially required if you don’t have enough open space for them in a garden.
- You can grow bottle gourd in an open ground or garden if you are comfortable with them spreading around in an area of up to 12 feet.
- However, this will affect the shape of the bottle gourd as they will be flat from underneath because of this.
- Alternatively, you can use a trellis structure to grow your bottle gourd.
- Create a strong trellis support structure of height 5 – 6 feet.
- The trellis can be made from bamboo, pipes, ropes, or wires – any material that is firm enough to hold the weight of the plant.
Transplanting bottle gourd plant
- You need to start preparing your bottle gourd plant for transplantation once they have reached a height of 1 – 2 feet and they have a few leaves on them.
- Prepare the garden bed by digging it up and mix it with some compost.
- Make sure the soil is dry so that you don’t get rock hard clumps.
- The hole that you dig should be wide and deep enough to encapsulate the plant’s roots.
- Carefully remove the plant from the pot, propagator or whatever container it is in. Do this by placing one hand at the base of the soil where it meets the soil and the other on the bottom of the pot.
- Loosen the edges of the bottom and place the roots in the garden bed. Continue watering as needed.
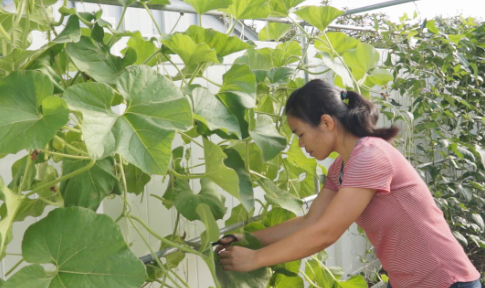
Male/Female Flowers & Pollination
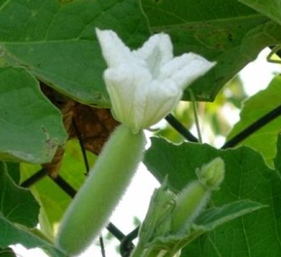
- Each bottle gourd vine can have both male and female flowers.
- Male flowers appear first. They grow on stems without the ball shape below the flower.
- Female flowers appear later. They have a gourd shape below the bloom.
- First vine will typically have male flowers, however you can have it bloom more female flowers by cutting the ends of the vines back.
- The plant typically depends on insects for pollination. However, if you have a lack of insects in your garden, you can hand pollinate them yourself as well.
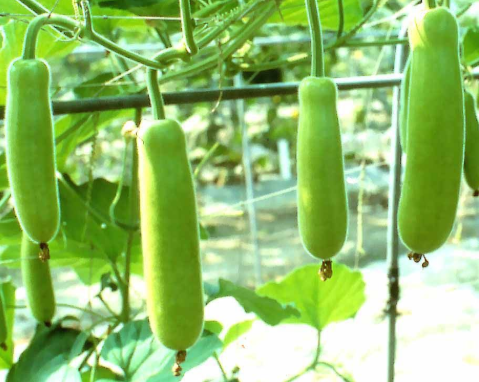
Harvesting Bottle Gourd
- Your bottle gourd plant will be ready for harvesting after 2 months. This is around the 50 – 60 day mark for most of them.
- Harvesting season can continue for up to the next 3 months.
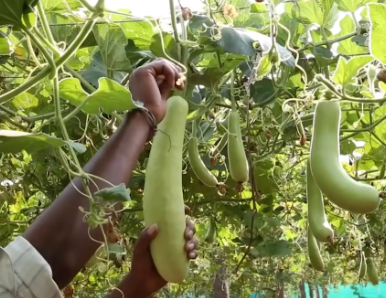
- Cut the fruit from the vine carefully using a sharp knife or pruning shears.
- Leave 3 – 4 inches of the stem remaining.
- If you snap away the stem, the storage life of the plant will be reduced.
![[GUIDE] How to Grow Chilies](https://luckyseed.co.uk/wp-content/uploads/2022/02/chilli-768x856.jpg)
![[গাইড] ঘরে এবং বাইরে লাউ বীজ এর উৎপাদন](https://luckyseed.co.uk/wp-content/uploads/2022/02/gourd-768x514.jpg)