[GUIDE] How to Grow Chilies
Getting your hands on chili seeds
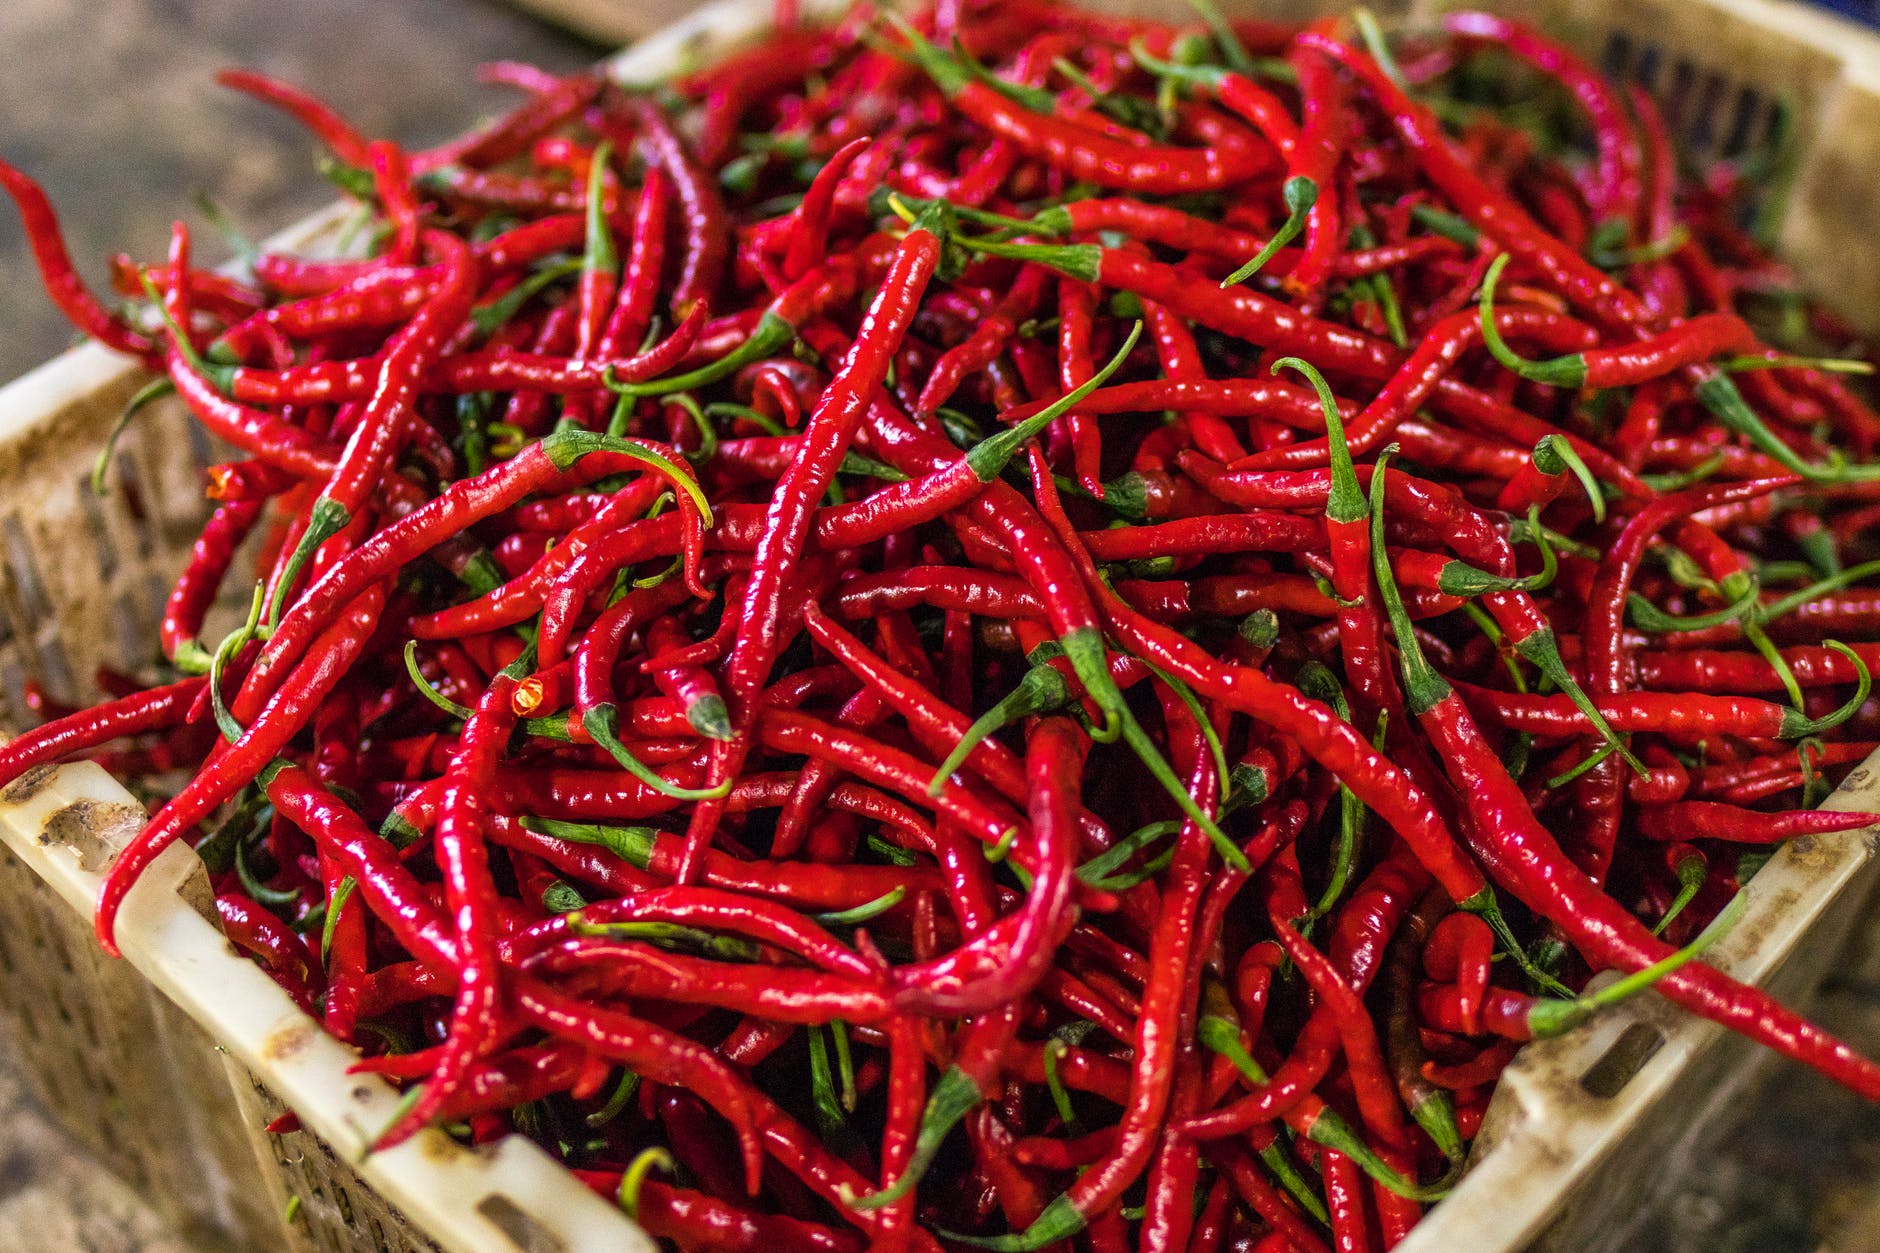
- Buying chili seeds from the super market isn’t recommended because there usually aren’t a lot of varieties there. Try visiting the nursery for access to a wider selection of chili seeds.
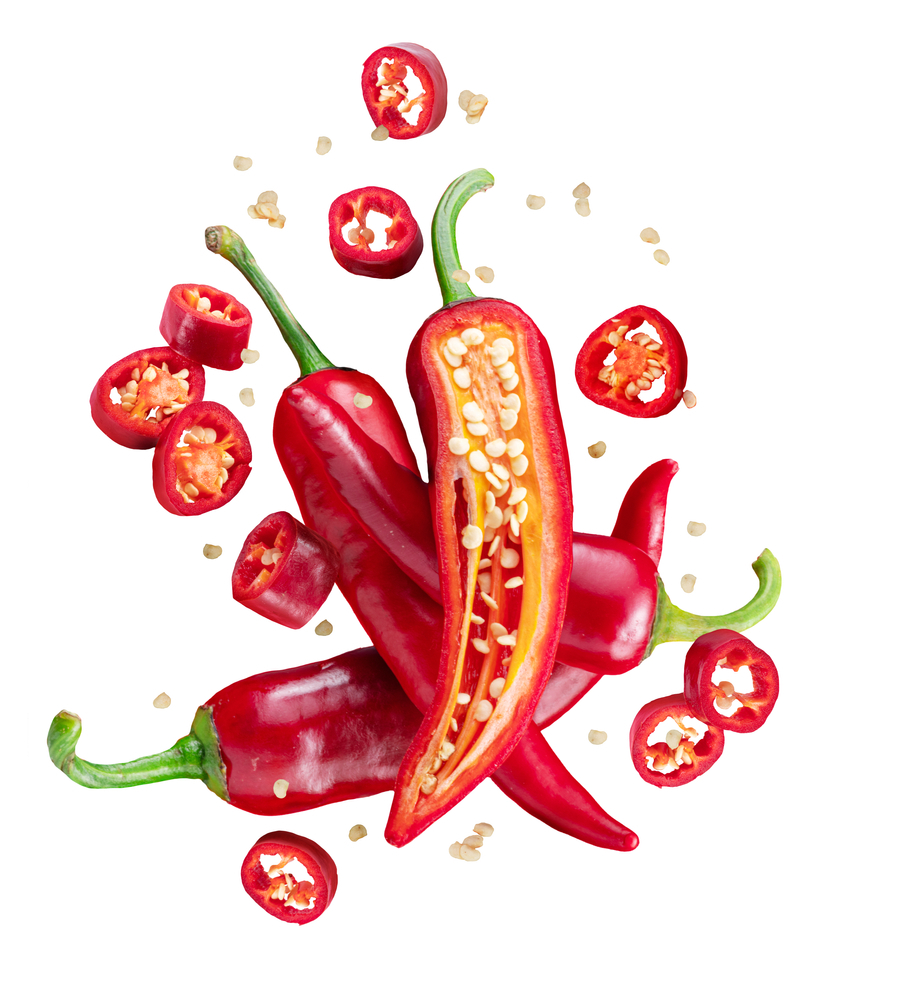
- If you have a chili pepper of your own, you can extract the seeds from them. Just make sure the seeds are from a completely ripe pepper. Immature peppers will not do you much good when it comes to getting your hands on chili seeds.
- Use a sharp knife to cut open the chili and take a spoon to scoop out the seeds. Rinse them with water so that they don’t irritate your eyes while handling them.
- Use gloves while handling the chili and its seeds so that the spice doesn’t stick to your hands.
- Leave them out under a fan or in the open sun to dry for a while.
- Keep them in a dark location in a labelled plastic bag until it is time for you to sow them.
- Don’t freeze them, but if you decide to keep them in a refrigerator make sure you get rid of all moisture. Being too cold and wet is a deadly combination that can kill your seeds.
- If preserved properly, your seeds can last up to 5 years in a dry and cool location.
Sowing your chili seeds
- It is always a good idea to begin growing your chilies indoors and then transplant them outside or to a greenhouse once they are old enough.
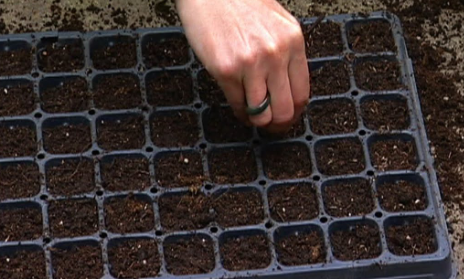
- Fill a seed tray with moist seed compost all the way to the top and use a flat piece of wood to evenly spread out the compost. You may also use 10cm pots if you don’t have a seed tray available to you.
- Make a 0.25 inch hole in each seed starting cell. You can use the eraser on the back of a #2 pencil for this purpose if you aren’t good with measurements.
- Sprinkle a few seeds on top around 5 mm deep and use your fingers to gently press them into the compost. Add a fine layer of vermiculite or compost on top to cover the seeds completely.
- Do not place more than 3 – 4 seeds in each growing sell. You don’t want to overcrowd the seeds when they begin growing.
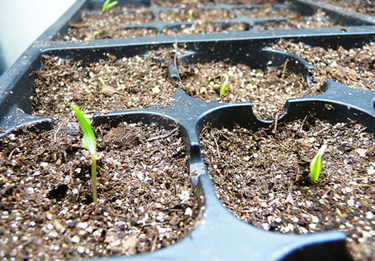
Germinating your chili seeds
- The ideal temperature for germinating chili seeds is above 65 degrees (anywhere between 75 to 85 degrees is optimum).
- Fill a germinating tray with around 6 – 8 cups of warm water and place your seed tray on top of the germinating tray.
- While your seeds are on top of the germinating tray, you can place a seedling heat mat under the bottom of your tray to keep them warm. For additional moisture, cover the top of the tray to trap as much humidity and moisture as possible.
- Make sure that the seeds are moist enough, but not exactly wet.
- The top of a refrigerator produces a lot of heat and will be an ideal location for you to place your chili seeds as they soak in the warmth to germinate quicker.
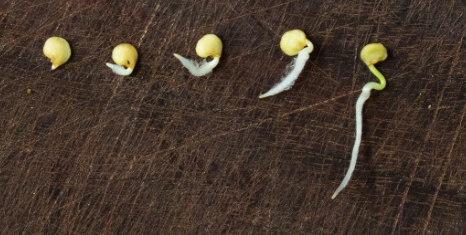
- Each chili seed will take a different amount of time to germinate. Some varieties may take 4 – 6 weeks before they sprout, meanwhile others can pop out as quick as 7 – 10 days.
- After germination, your chilies need to be moved to a location where they can get enough sunlight to keep them warm and ventilated (outside or in a greenhouse). They can stay in a 3-inch pot until they are 3 to 6 inches tall.
Transplanting your chili plant
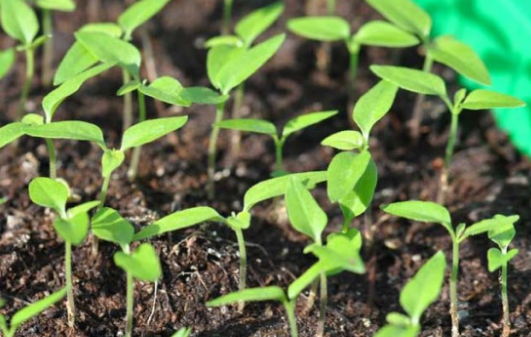
- Once your chili plant is mature enough, it is time to move it into a better prepared, fertile, moist and properly drained bed of soil. Being ‘mature enough’ means that the plant can be handled without being easily damaged.
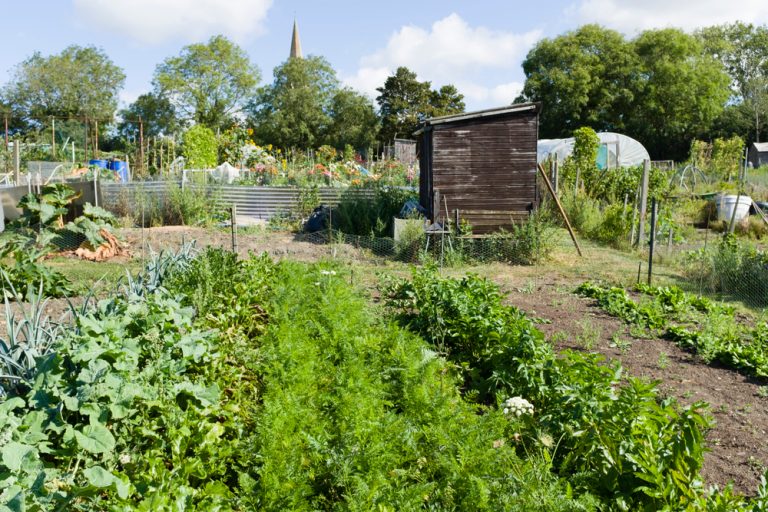
- You may grow your chili plant individually in grow bags, in the ground or place them in pots inside a greenhouse. The choice is yours.
- If you plant them outside, make sure that you gradually introduce them to the climate outside for 7 – 10 days before letting them permanently stay there.
- Use your gloves to loosen the plant from the seed tray and place it in the hole or pot that you have prepared as its final location. If you were using a pellet, gently place it in the pot for the plant.
- Space your chili pepper plants at least 50 cm (20 inches) from each other.
- Make sure the soil you plant your chili in has good draining, this is because the roots of peppers need plenty of air. Too much water will suffocate them and invite the growth of fungus to infect them.
- Water your chili plant regularly, and once the first chilies start to emerge, use fertilizer that is rich in potassium (such as a high potash tomato fertilizer) to give them the needed nutrients for healthy growth.
Maintaining a healthy chili plant
- Make sure that your plant gets at least 6 hours of sunlight every day. This is the minimum requirement for healthy growth. The ideal amount is 8 hours of direct sunlight every day.
- Add a coarse layer of organic mulch around the base of the plant to help maintain the moisture level and minimize the likelihood of weeds popping up to attack your chili plant.
- Pinching out the growing tip of the first flowers can help promote better growth and lead to a better harvest.
Harvesting your chili plant

- If your plants are grown outside, you need to harvest the ripe chilies before the first frost appears. Pick out the ripe peppers to encourage the plant to grow even more.
- Most chili pepper plants will be ready to harvest around July, but some may require more sunny days if they have been sown late.
- Use a pair of sharp clean scissors to remove the peppers from the plant, but keep the tiny green cap above them intact.
- Use this opportunity to get rid of any rotten chilies as well.
Congratulations on pulling off your first very own chili pepper harvest!
![[GUIDE] Growing Bottle Gourd Seeds Indoors and Outdoors](https://luckyseed.co.uk/wp-content/uploads/2022/02/gourd-768x514.jpg)