How to Store Seeds and Prevent Them from Damage
Why do you need to be careful with storing and preserving seeds?
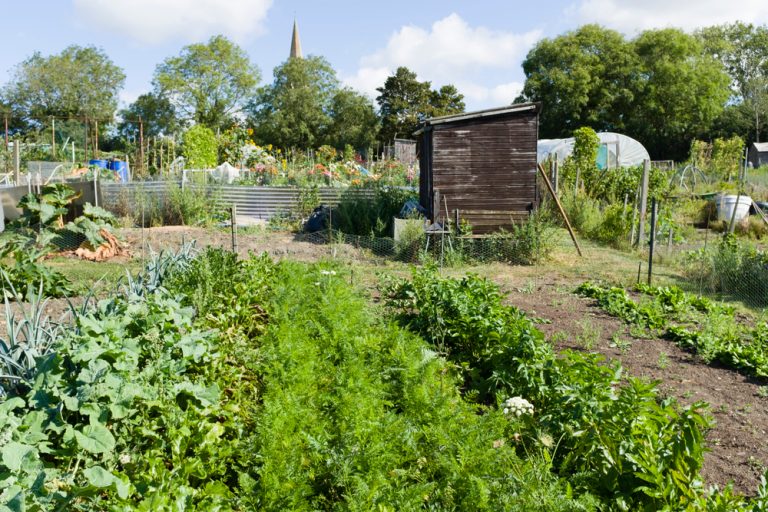
Storing seeds is crucial if you want to be able to continuously grow healthy varieties of a particular plant season after a season each year. If your seeds aren’t stored properly, they are less likely to germinate and grow into healthy mature plants. Additionally, poorly preserved seeds will simply waste your time and resources as you try to sow and care for them, only to no avail. Here is what you need to know about being able to store your seeds and prevent them from damage.
Being able to collect, dry, and store your seeds properly is key to being able to ensure that they last a long time duration. The life of a seed depends on how well it has been handled and preserved. With just a little bit of effort, your seed will be able to last years at a stretch without any damage or rotting.
Collecting the seeds
Once your plant is ready for harvest, it is usually a good indication that it is also mature enough for you to utilize its seeds and start collecting them to be able to grow a new plant.
There are certain specifics that you need to know about the seeds from fruits/vegetables such as tomatoes and melons. They are covered in a gel-like structure (called mucilage) that holds growth inhibitors that stop the seed from sprouting within the fruit or vegetable itself. This food source isn’t much use for the seed and needs to be removed. In nature, this happens when the fruit falls from the plant and begins to rot. A faster way to get rid of this gel layer is to soak the seeds in water so that they swell up. Next, use a coarse material such as sandpaper to scrub off the gel coating from the seeds.

Tip: Sterilize the seeds using an alkaline solution if needed to get rid of the more stubborn gel particles
Drying your seeds (gourds, chili peppers and other seeds)
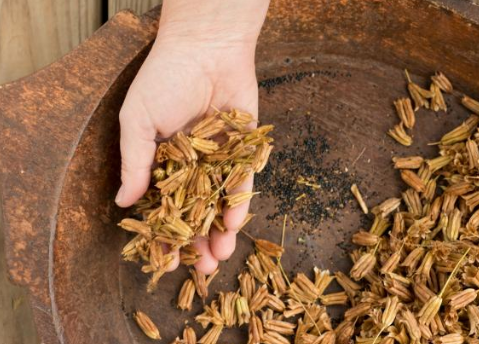
Once you have your seeds collected, the next step is to dry them off. Place your dry seeds on a dry piece of paper and store them in a place where there is enough air to ventilate them. For gourds, chili peppers, and fleshy fruits/vegetables, you will have to extract the fleshy pulp and separate the seeds first. An appropriate temperature to store them in would be between 60 to 100 degrees Fahrenheit. You can even store your seeds in sunlight to dry them off naturally or under a fan. How long you need to dry them depends on the size of the seed itself. Smaller seeds such as chili peppers need to be kept for a few hours only, while larger ones such as pumpkin seeds require much more time.
How to tell if your seeds have dried well enough for storage?
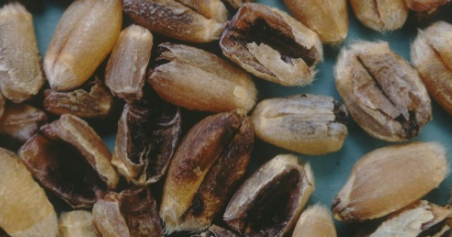
The ‘bend or snap’ test for seeds will allow you to be able to gauge whether or not your seeds are dry enough to be placed in storage such as a freezing compartment. You can conduct this test by trying to bend the seed from its middle part. If it is properly dried, it will be brittle enough to snap and break easily. However, if it bends before smashing and leaving fragments everywhere, then it is more likely that it hasn’t been dried correctly and needs more time before it can be stored. Be careful about drying seeds well enough before storing them, otherwise, they will just die away.
Where should you store your seeds?
Your seeds need to be stored in an environment where you are able to control the physical living conditions such as temperature and moisture level. Cool temperatures and dry humidity levels will ensure that the seed remains dormant and does not rot either. Remember that all that seeds need to germinate are favorable environmental conditions – basically when it is warm and wet enough. As long as you don’t provide these conditions, your seeds will be good to go for storage. For this reason, store them in a location where the temperature isn’t controlled by the climate outside, but rather by you, for example in a cool basement cupboard or a freezer.
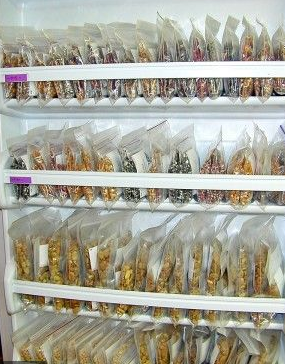
Tip: For additional safety, place the seeds in a zip-lock bag. If these aren’t available to you, then store them in a can or plastic container with ‘snap on’ lids.
How to protect your seed?
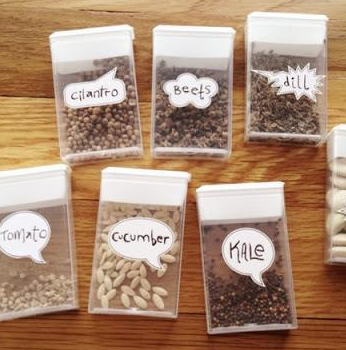
Clean the seed before storing them, by first spreading them out flat and getting rid of leaves, stems, trash, and any other small particles stuck to them. This will help reduce the volume of seeds before they go into storage.
You will also want to make sure that insects and bacteria do not get a chance to infect your seed either before or during storage. Lightly shower your seeds with a mild spray of insecticide to prevent bugs and diseases from getting a hold of them. This should be enough to disinfect them. If you’re worried about rodents in your area, then you will want to store your seeds in glass jars placed on an elevated shelf or rack so that they can’t be reached easily. The top shelf of a stable cupboard or the freezing compartment of a refrigerator will do.
Certain seeds have a much shorter storage life than others. For example, seeds belonging to onions, leeks, carrots, parsnips, and other such fleshy vegetables do not survive for long at room temperatures. You will want to make sure that these are stored in the freezer only.
How to tell if your seed has gone bad?
Unfortunately, even when you try to make sure that everything is going according to plan – there is still a possibility for your seeds to go bad. Whether or not your seed is viable for use in the garden, requires you to place them in a container filled with water for 15 minutes. If the seeds sink, they are good to go but if they float, then they may not be fit to grow.
Tip: Don’t trust discolorations as a sign of seeds that have gone bad!